
Tech & Equipment: Camera Accessories You Need
Getting into photography can become pretty expensive and even more overwhelming when you don’t know where to start. You recognize brand names you’ve seen on an ad here and there and maybe from some idle chit-chat around the office but you’re still not quite sure what’s worth the initial investment which is completely understandable. For starters, I’m a conscientious saver and what I would even like to consider as a smart budgeter. I try to think about the long-term cost-effectiveness of most of my purchases when I think I need to buy something. I’m here to help every lost soul on the path of photography to know what options they have to equip their cameras for success. I use a Canon EOS M50 Mark II as my day-to-day setup with the following products or some variation of the same brand below. As a disclaimer, none of the following equipment will aid in boosting your know-how or ability to photograph better. Please also note that the following accessories mentioned in this blog are for mirrorless cameras specifically, alternatively, results may vary.
Now, without further ado, let’s talk camera tech and accessories!
Accessories
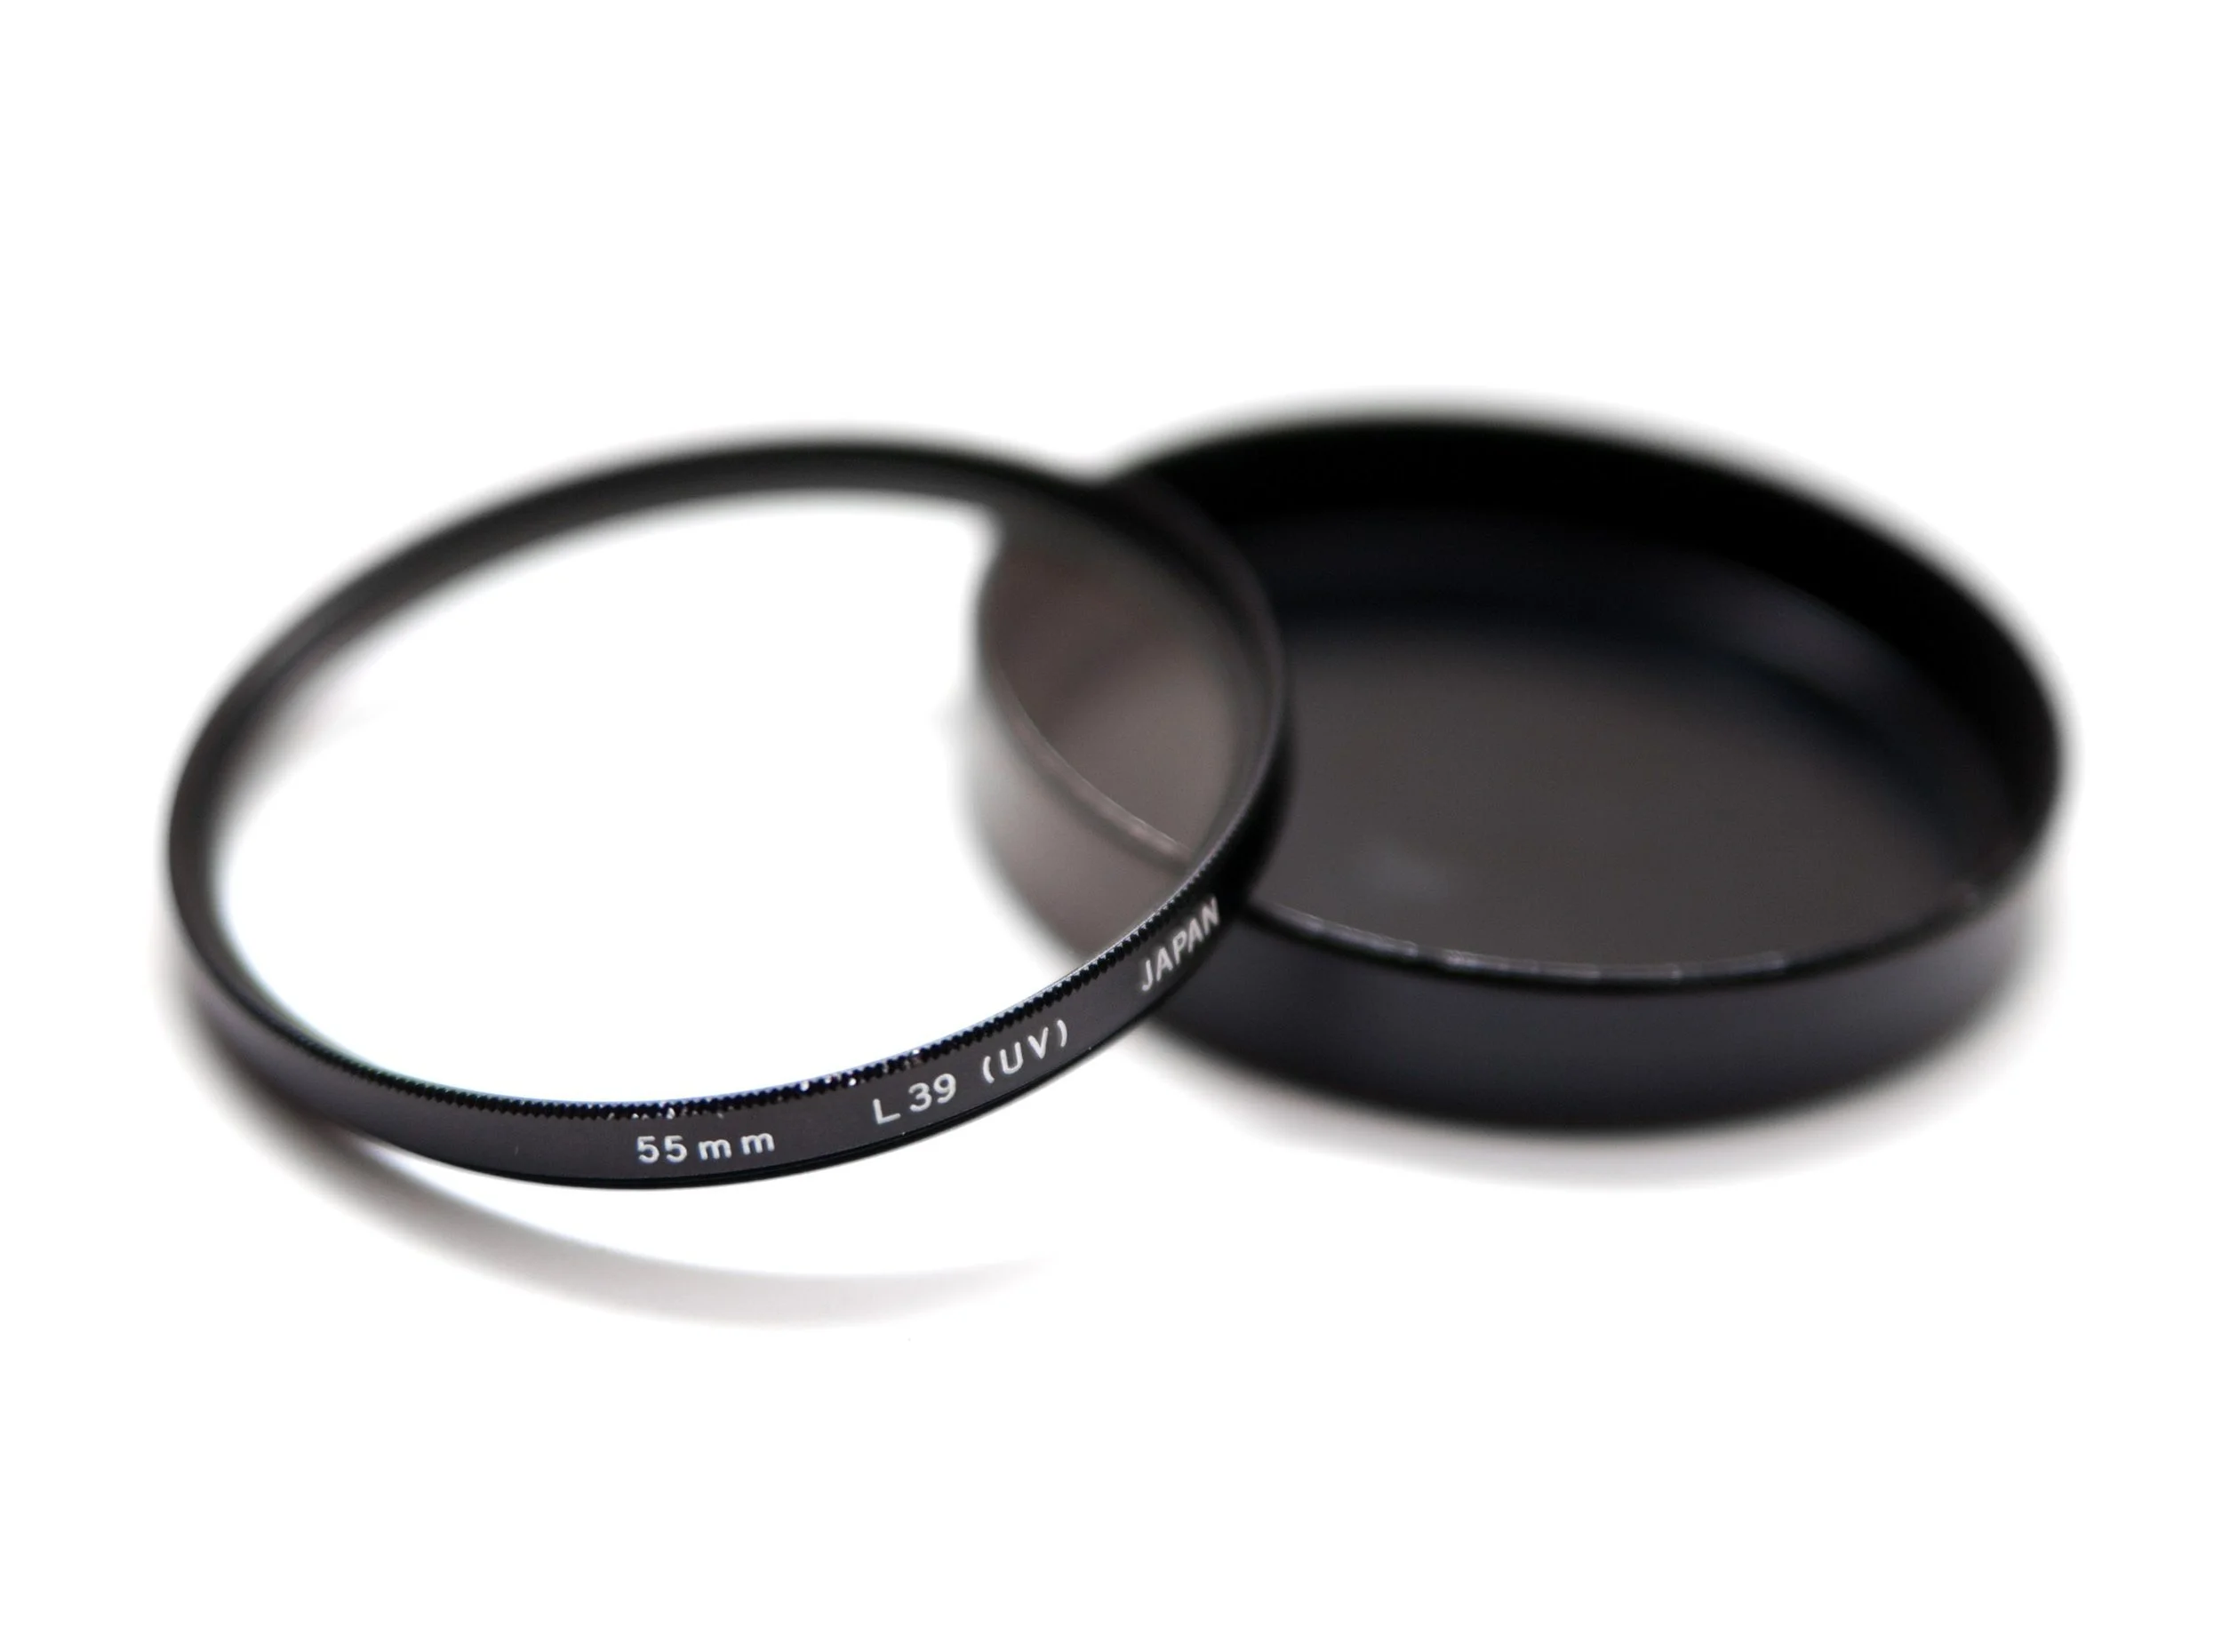
UV Filter
UV filters are great for improving the quality of your images. I have one attached to all of my lenses, especially with as much natural photography as I take part in which is coincidentally very useful for this purpose. The UV filter works as a protective shield against dust, rain, and other atmospheric particles. The best advice on this purchase is to avoid cheap filters as they can degrade your image quality. While the filters may protect your lens from debris, note that they do not protect your camera from external damages caused by any hard drops.
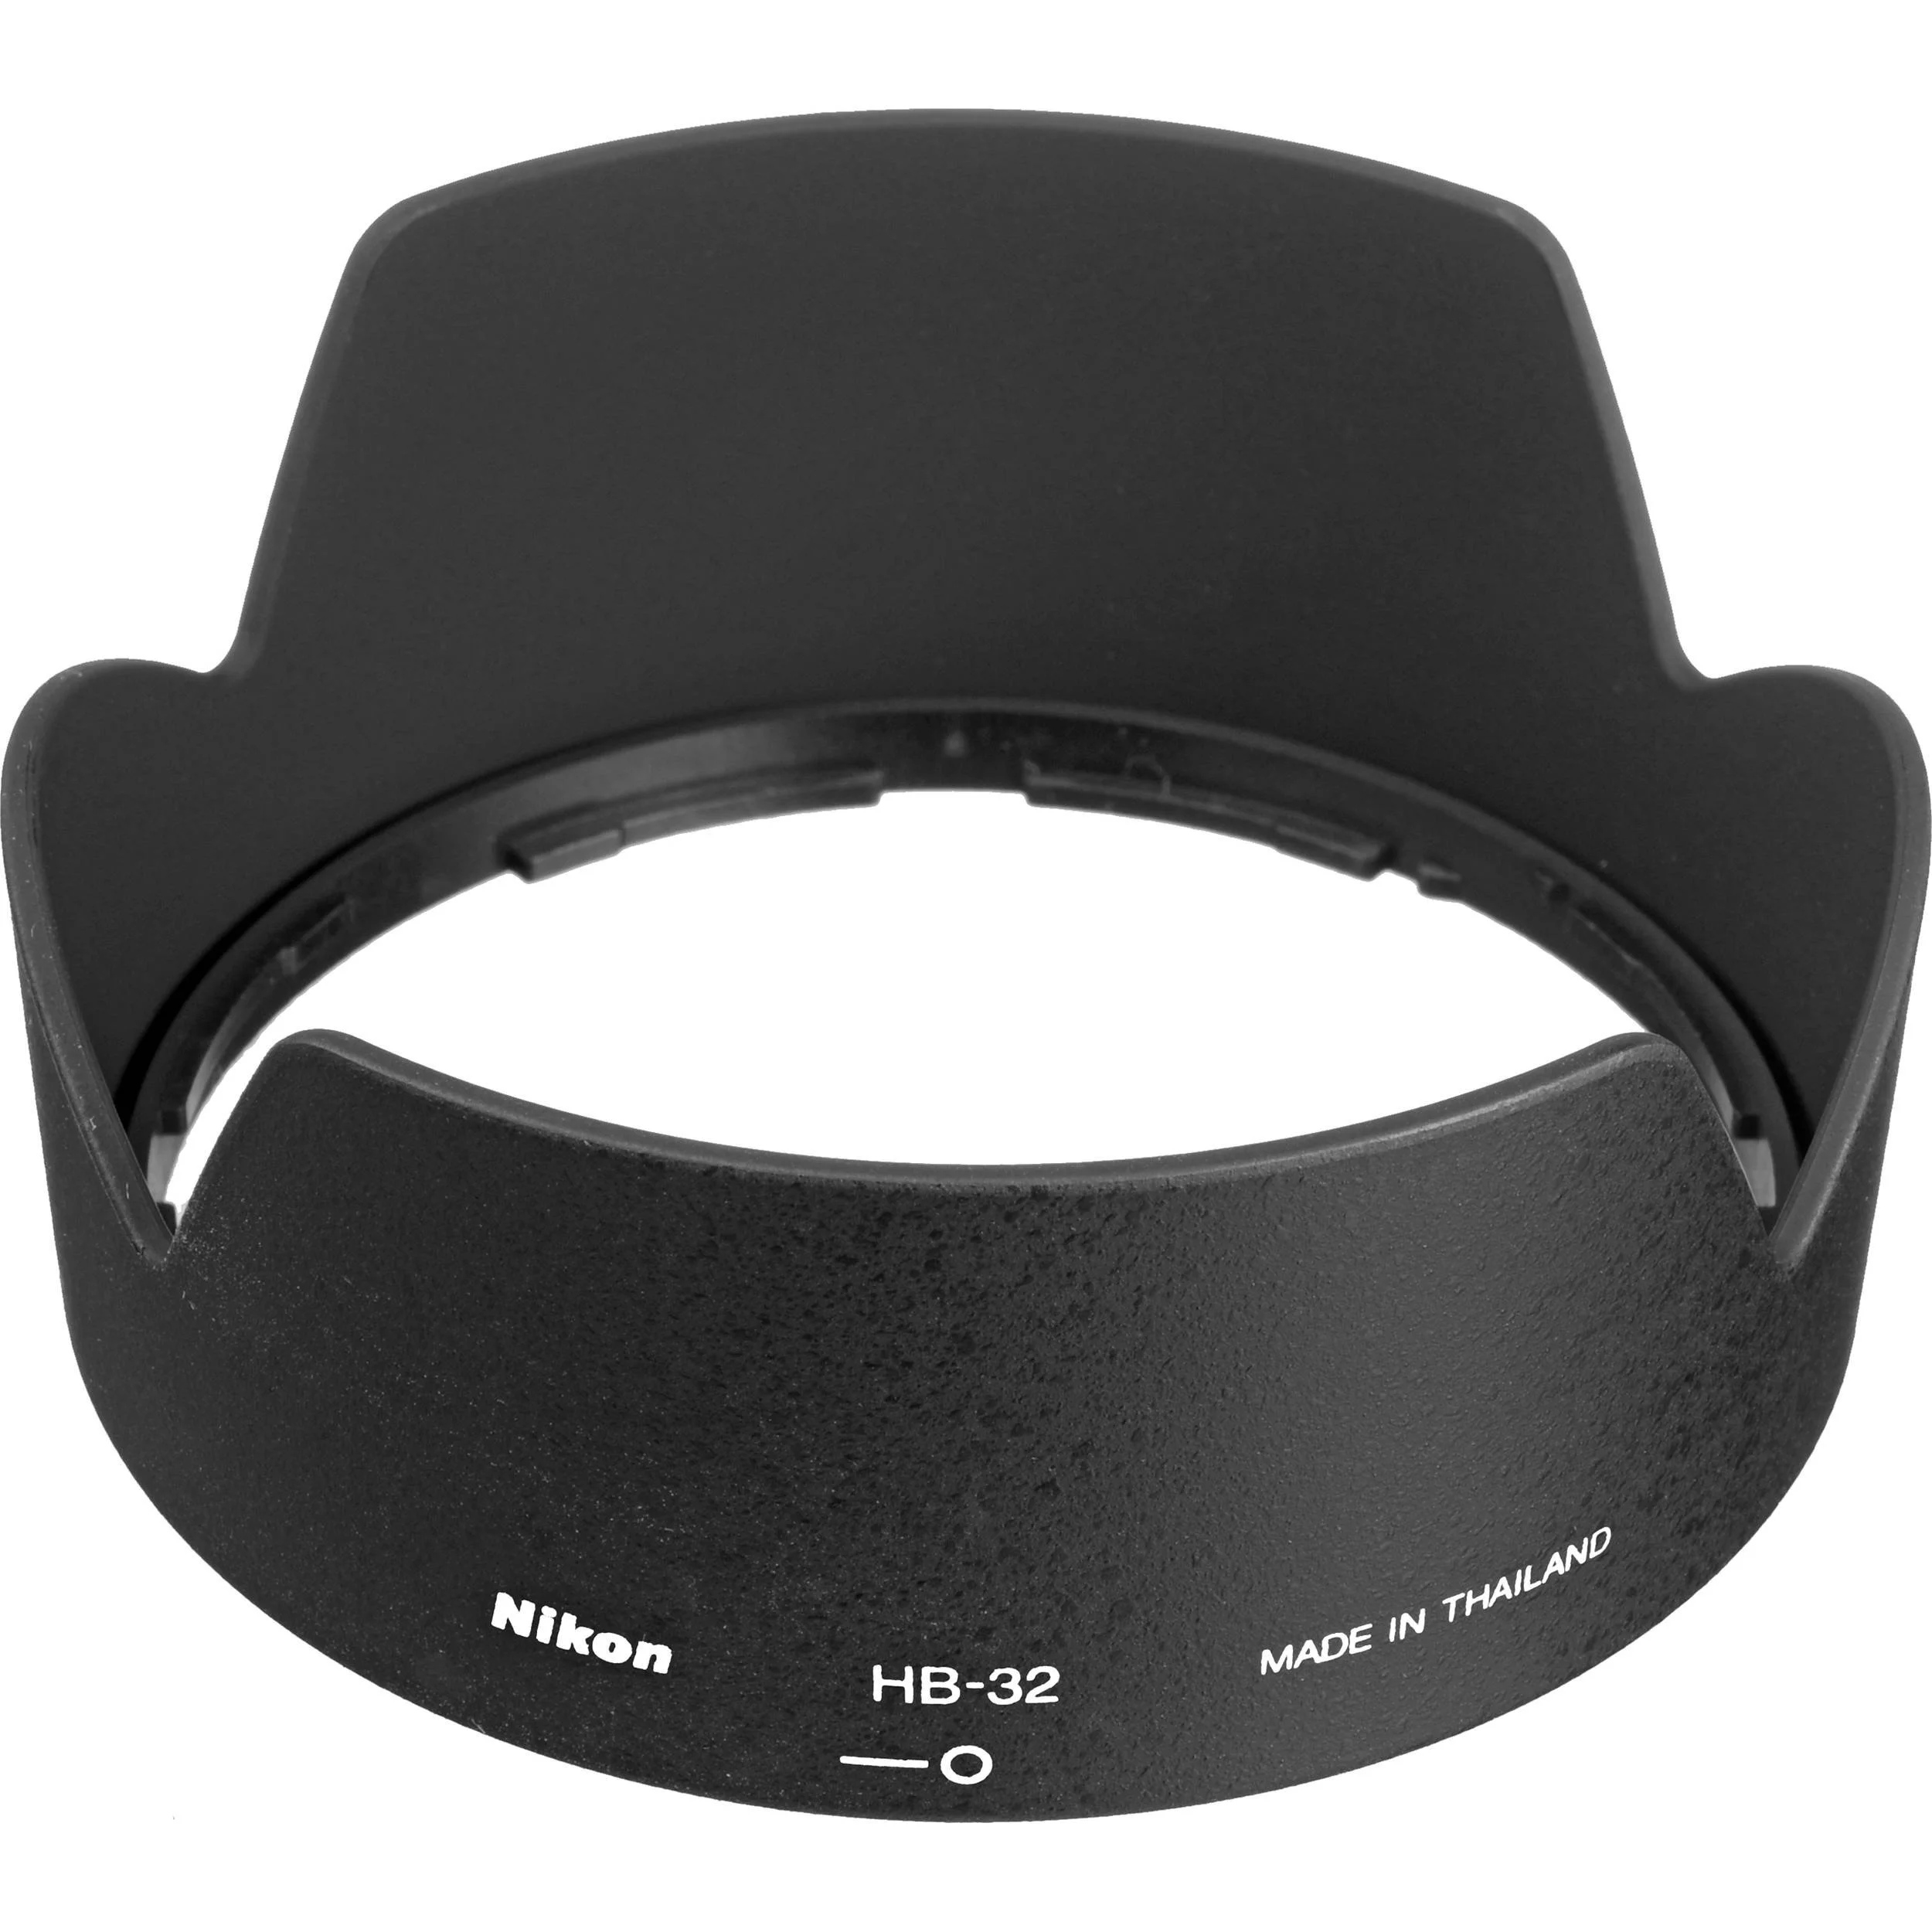
Lens Hood
Earlier I mentioned how the UV filter works to protect your camera lens from debris but not hard drops or accidental ‘love taps’ as I call them. Now, the lens hood on the other hand does work to protect your camera’s lens. Quite a few brands even offer reversible lens hoods. I like this option as it adds a variety of comfort and slight personality to your camera.
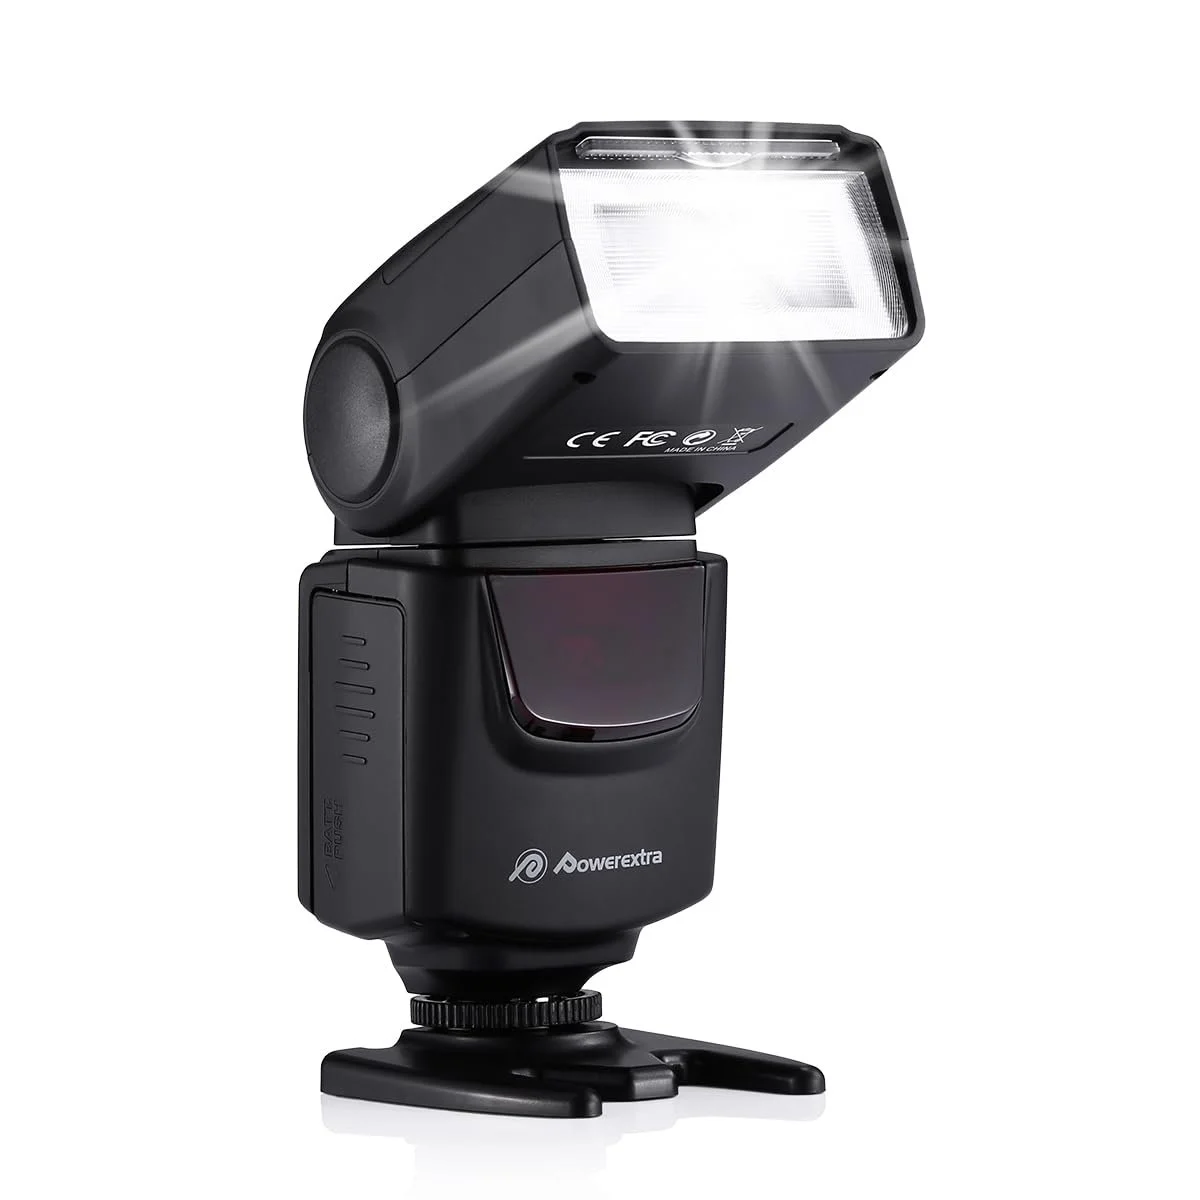
Powerextra DF-400 Speedlite Flash
Your flashes will help you emit light in dimly lit places to account for the lack of substantial lighting. I purchased a pretty basic/beginner flash for the sake of having something in the meantime. I appreciate how there was a built-in diffuser and white card to bounce light off of your subject. While I’m not upset with PowerExtra’s flash, it does offer some setbacks such as frequent battery changes from overuse and limited range up to 200 mm.
I’m already looking forward to my next upgrade to the Godox TT685F II. Whew!
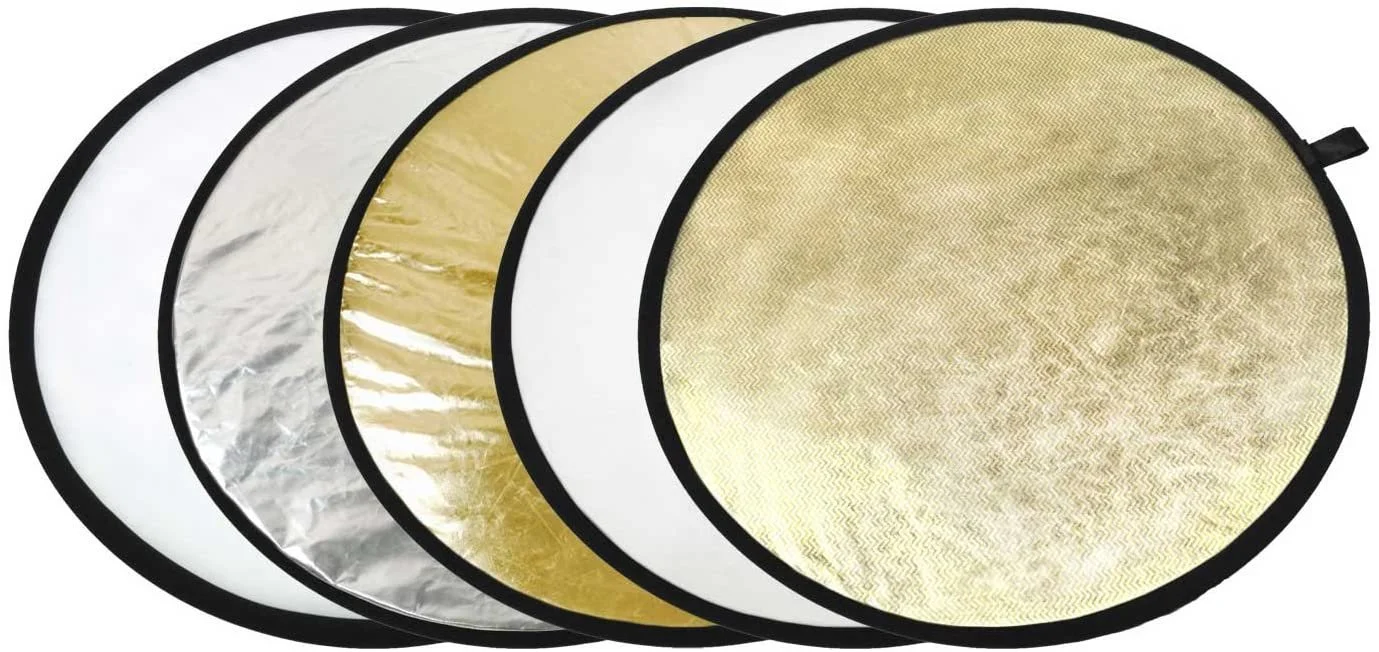
Reflectors
Reflectors are incredibly useful tools in photography for manipulating light and improving the quality of your images. Here's how they can be helpful:
Fill Light: Reflectors can be used to bounce light onto your subject, filling in shadows and reducing contrast. This is especially helpful in situations with harsh overhead sunlight or strong directional light, where shadows can be unflattering or distracting.
Softening Light: By reflecting light onto your subject, you can create a softer, more diffused lighting effect. This is particularly useful for portrait photography, where soft, flattering light can enhance the appearance of skin and minimize imperfections.
Enhancing Catchlights: Reflectors can add sparkle and dimension to your subject's eyes by creating catchlights. These small reflections of light add life and vitality to the eyes, making them appear more vibrant and engaging.
Controlling Light Direction: Reflectors allow you to control the direction of light, helping you achieve the desired lighting effect. By positioning the reflector at different angles relative to your subject, you can sculpt and shape the light to create dimension and interest.
Color Correction: Reflectors come in various colors, such as silver, gold, white, and black. Each color has different properties and can be used to achieve specific effects. For example, a silver reflector provides a cooler, more specular light, while a gold reflector adds warmth and richness to the light.
Portability and Affordability: Reflectors are lightweight, collapsible, and easy to transport, making them ideal for on-location shoots. They're also relatively inexpensive compared to other lighting equipment, making them accessible to photographers of all levels.
Overall, reflectors are versatile tools that offer photographers greater control over lighting, allowing them to create beautifully lit images in a variety of shooting conditions. Whether you're shooting portraits, landscapes, or still life, a reflector can be a valuable addition to your photography toolkit.
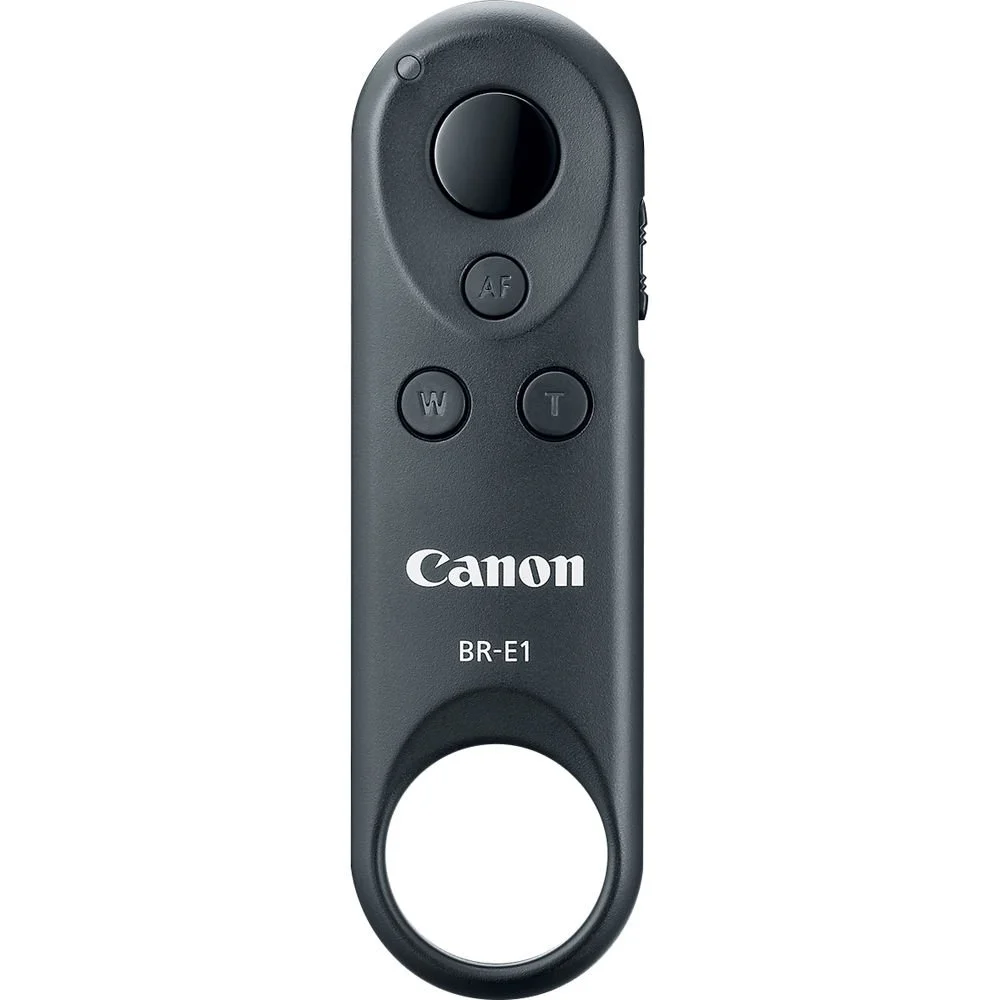
Remote Shutter Release
Remote shutter releases are valuable accessories in photography for several reasons:
Reducing Camera Shake: When you press the shutter button on your camera, even the slightest movement can cause blur in your photos, especially in low-light conditions or when using slower shutter speeds. A remote shutter release allows you to trigger the shutter without physically touching the camera, minimizing the risk of camera shake and producing sharper images.
Long Exposures: In situations where you need to use long exposure times, such as capturing star trails or smooth water effects in landscapes, a remote shutter release is essential. It enables you to start and end the exposure precisely when you want, without introducing any movement or vibration to the camera.
Self-Portraits and Group Photos: Remote shutter releases are indispensable for self-portraits and group photos where the photographer needs to be in the shot. Instead of relying on timers or running back and forth to press the shutter button, a remote release allows you to trigger the camera from a distance, ensuring everyone is ready and in position.
Macro Photography: When shooting close-up subjects in macro photography, even the slightest movement can cause significant blur. A remote shutter release allows you to capture sharp images without disturbing your subject or the delicate setup.
Wildlife and Sports Photography: In situations where you need to maintain a safe distance from your subject, such as wildlife photography or sports events, a remote shutter release enables you to capture images discreetly without disturbing the scene.
Time-Lapse and Bulb Mode: For time-lapse photography or when using bulb mode for extended exposures, a remote shutter release provides precise control over the duration of each exposure, ensuring consistent results.
Convenience and Comfort: Using a remote shutter release eliminates the need to physically touch the camera, which can be particularly beneficial in cold weather or when shooting in challenging environments.
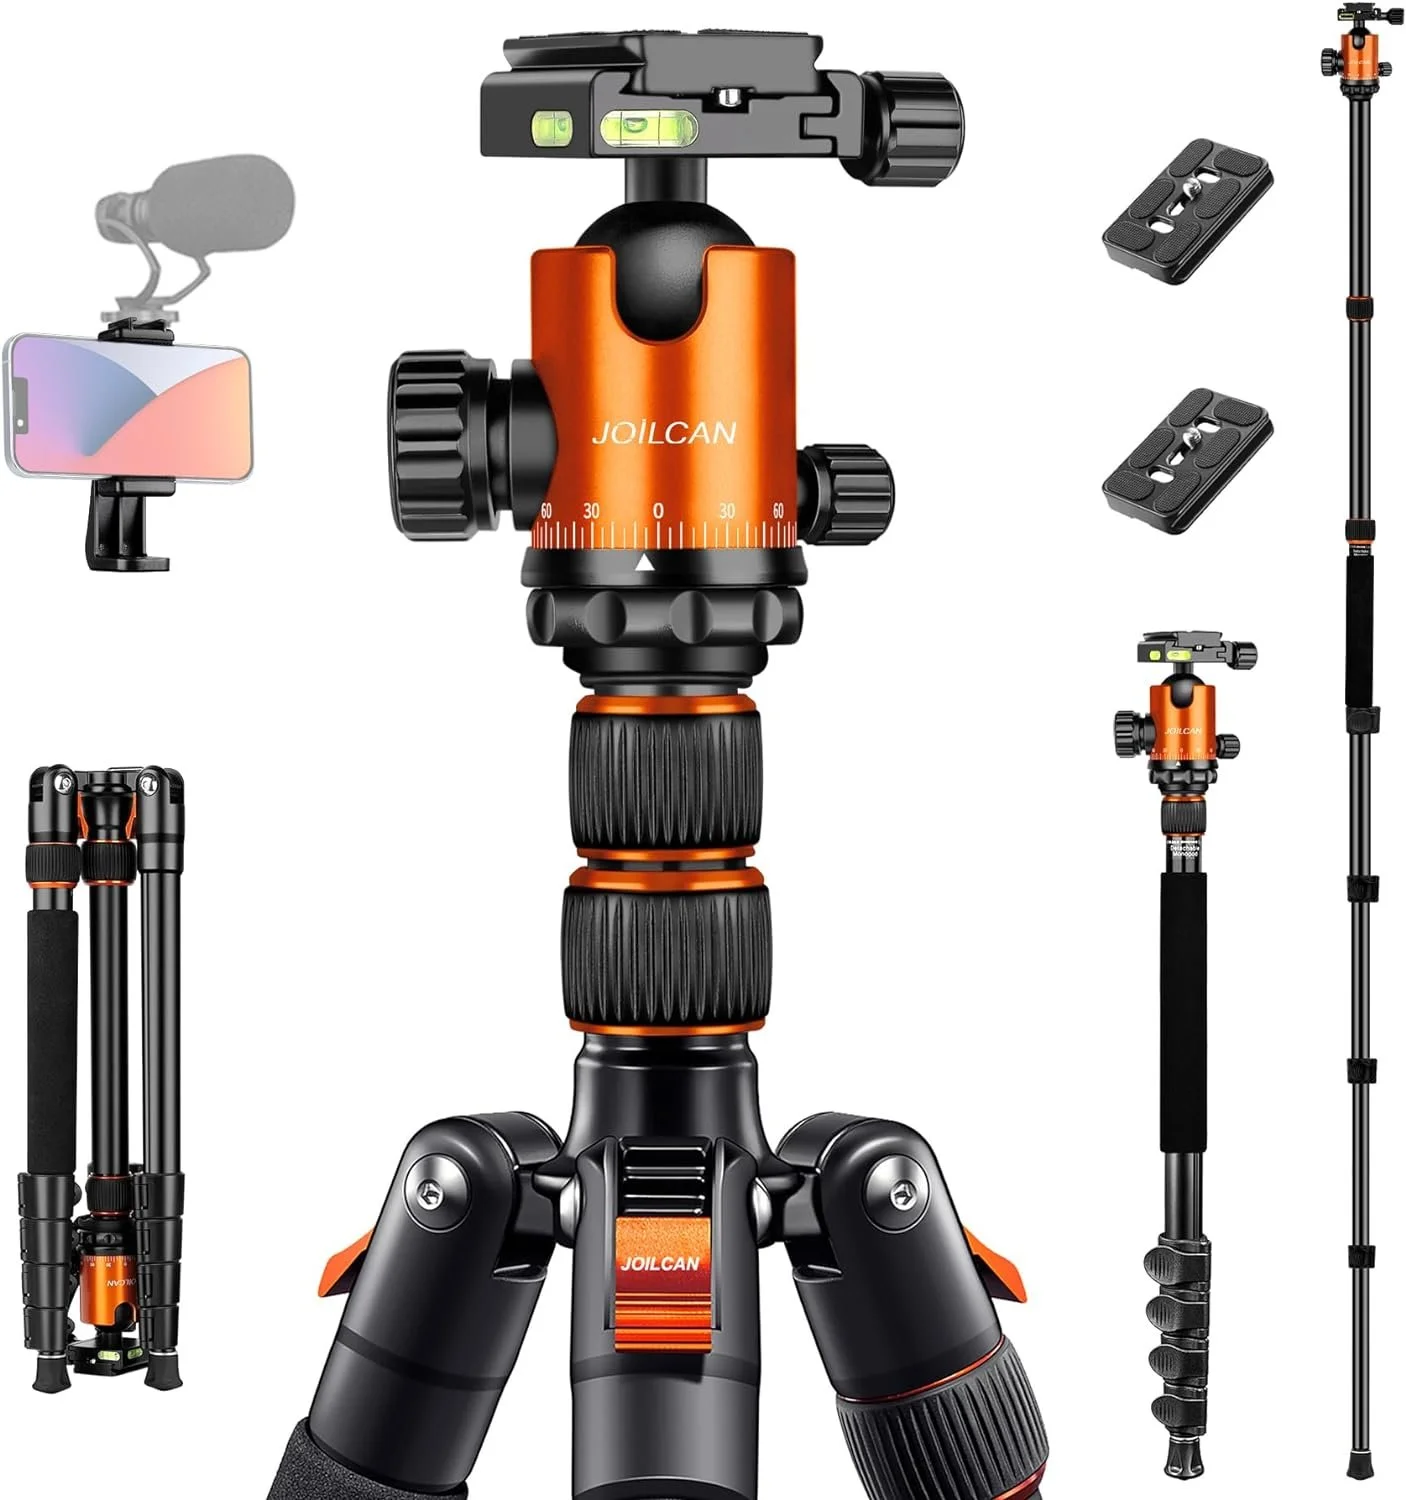
JOLICAN 80” Tripod
A must-have piece of equipment that upgrades your quality of shooting. This will provide your set-up with stability and quality control of your shoot. Be sure you purchase a durable, heavy-duty, wind-resistant tripod . My recommendation would be the JOLICAN Tripod. It has a fold-up 5-section traveler design which allows you to adjust the tripod height from 23” to 81” in a matter of seconds. Tripod to monopod conversion with adjustable height and a 38mm panoramic ball head to support your 360° tilt for getting the perfect shot every time.
Extra Batteries
My recommendation would be to keep at least 4 AA batteries and 4 AAA batteries in your bag at all times. A battery pack is another great recommended option for keeping your USB or USC devices charged on the go. I keep at least 2 to 3 fully charged packs on me at all times.
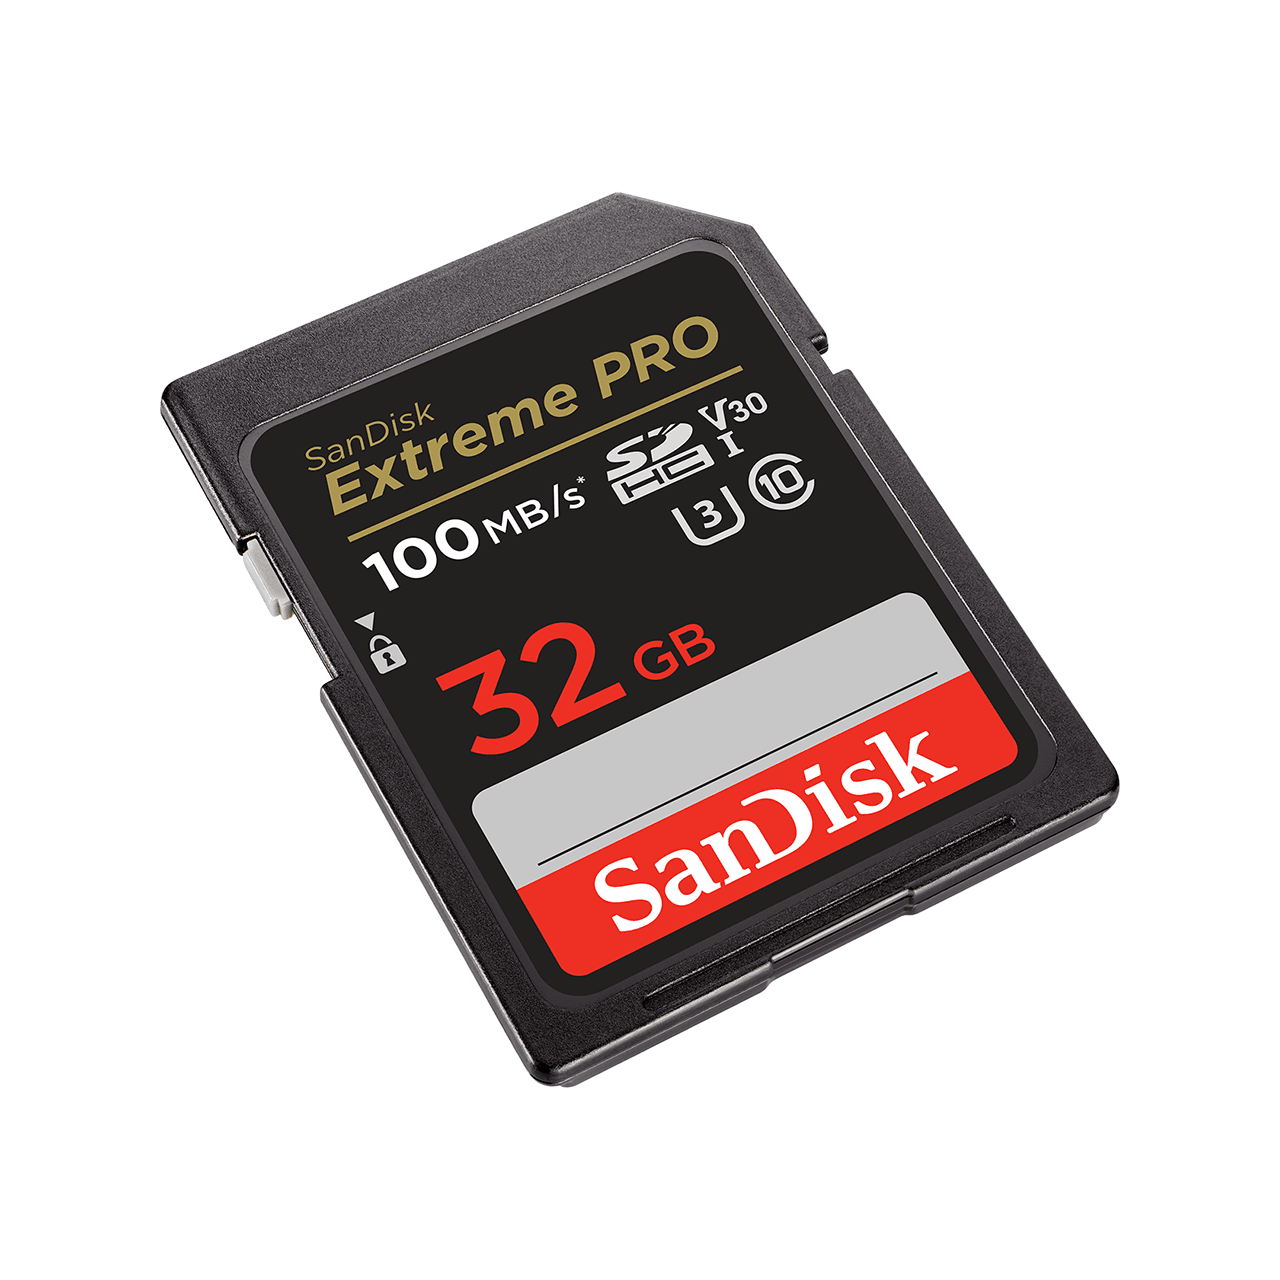
SD Memory Card
Most people’s typical go-to brand is SanDisk. While SD cards usually hold an exceedingly sufficient amount of space for one photo shoot, my rule of thumb is to purchase the next size up for what I need.
Using the SanDisk Extreme Pro, for example, considering the average RAW file size…..
32GB = 1,092 photos
64GB = 2,184 photos
128GB = 4,368 photos
256GB = 8,732 photos
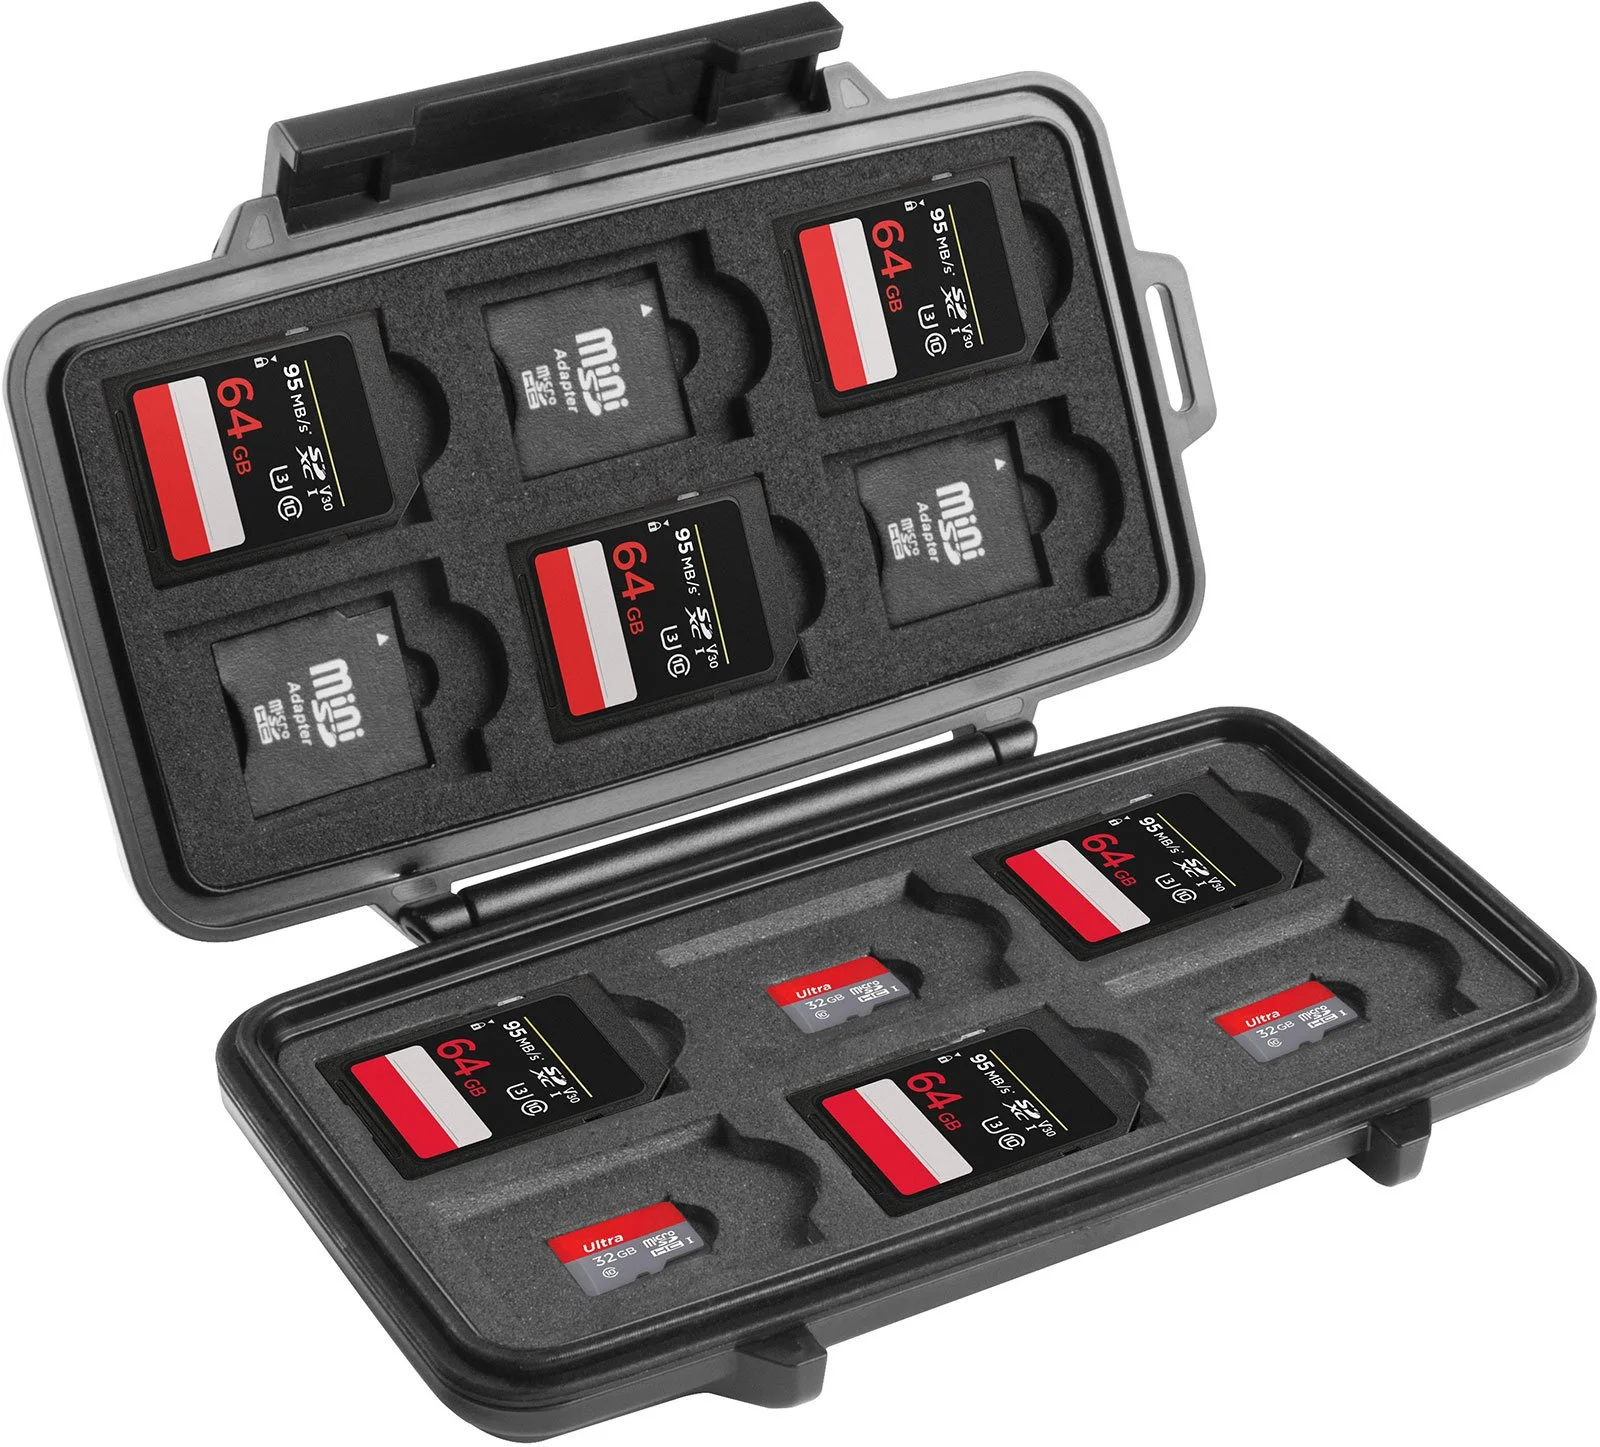
Memory Card Case
An easy way to keep up with any unedited content, don’t forget to back up your storage. This product is one of the most affordable accessories that I believe one could ever own. You can purchase lower-quality plastic cases or a more durable option from brands like Pelican.
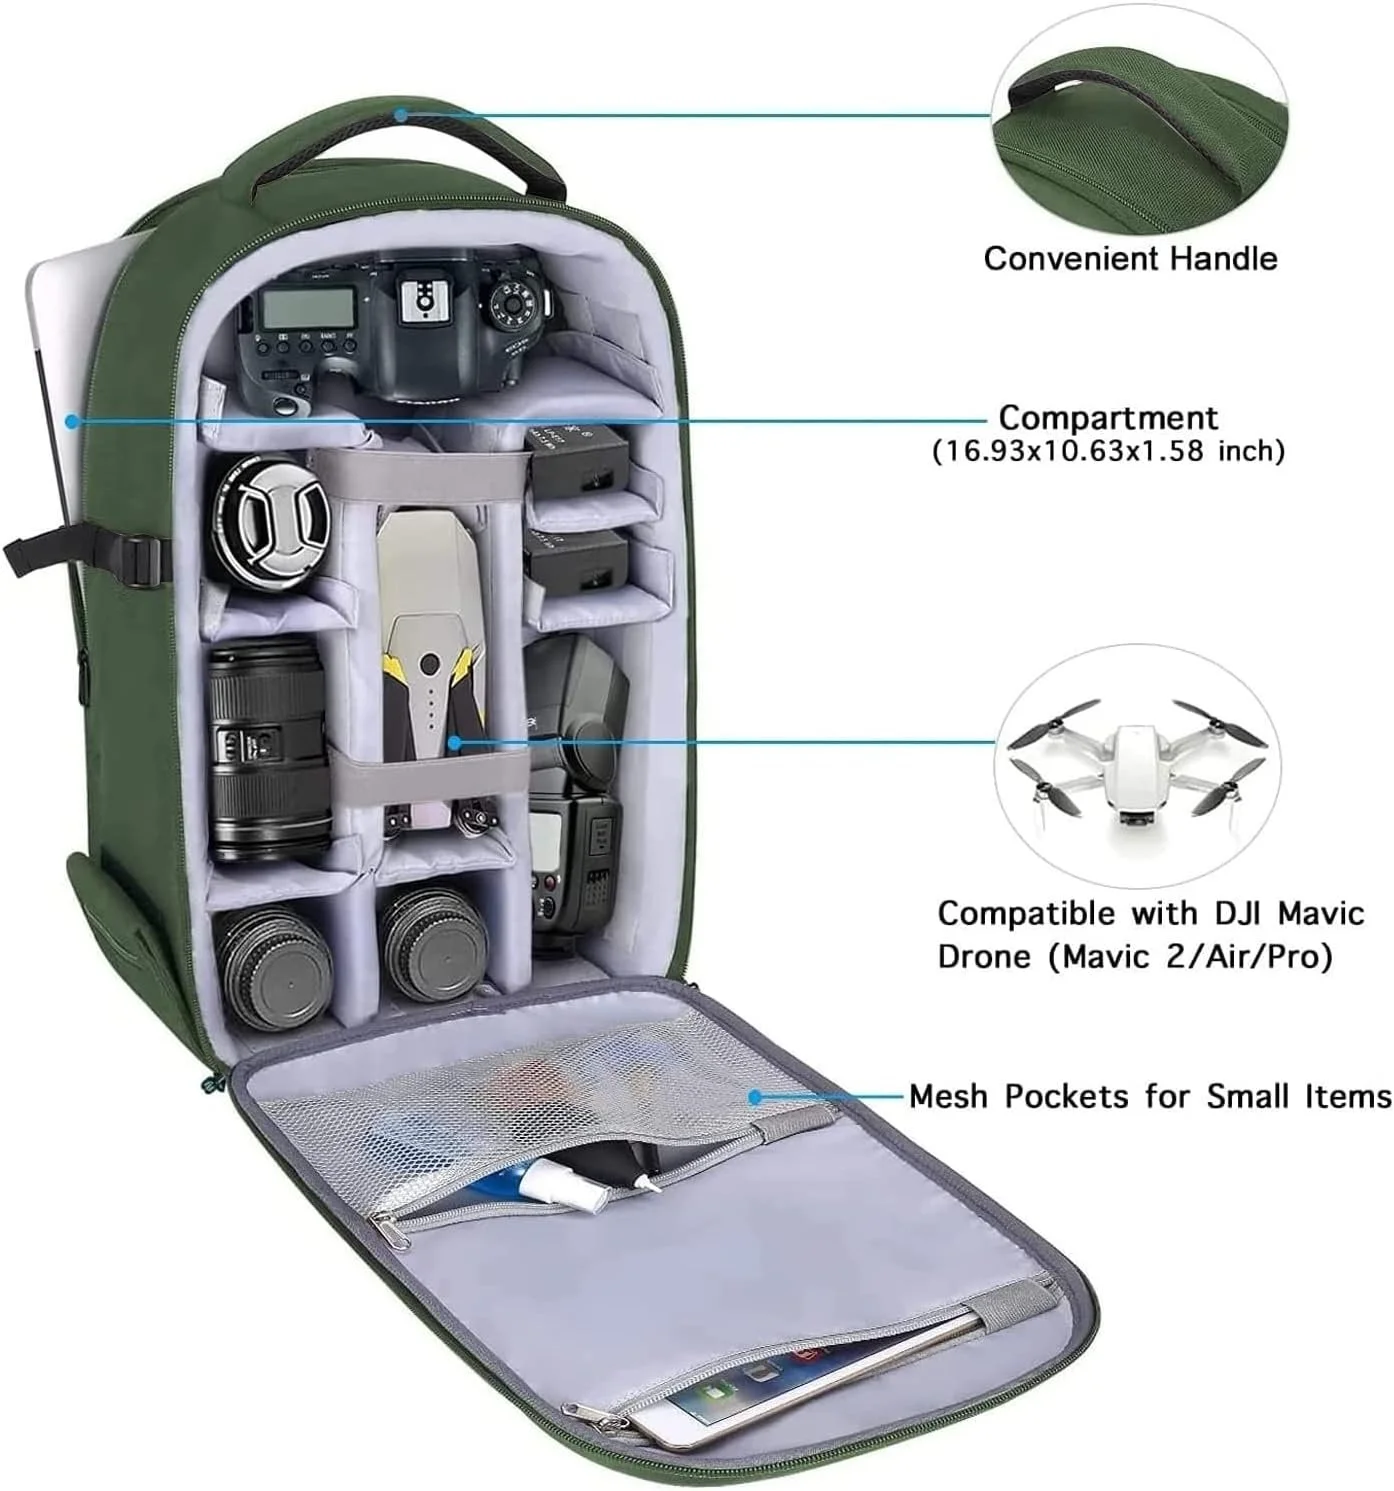
Camera Bag
A vital component for storing and carrying around your equipment. Consider options like weather-resistant and scratch-proof fabric. My go-to purchase was a MOSISO camera backpack from Amazon. I’m able to easily carry my laptop with me having a designated compartment which is amazing for on-the-go editing. The hardshell protection is great for spills and drops with its waterproof and shockproof covering. With its fully open design, you’re able to adjust the padded modular inserts according to each shoot’s personal needs.
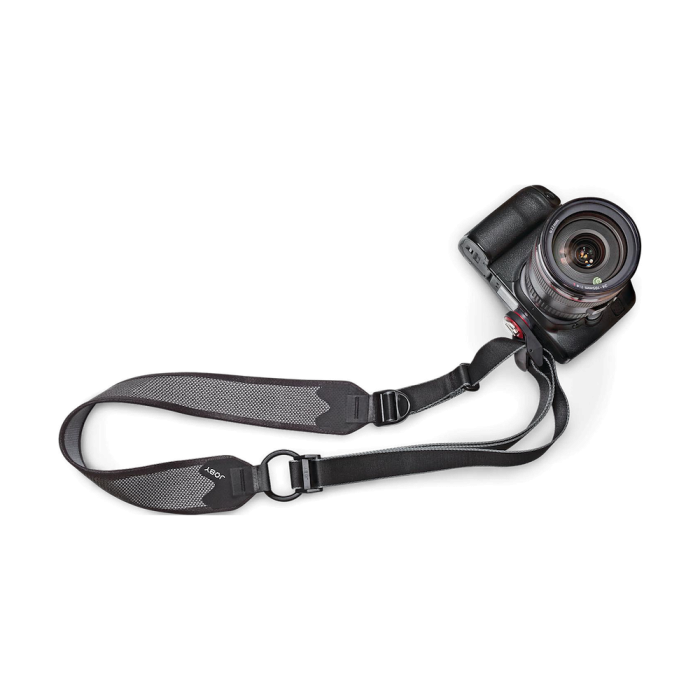
Camera Strap
Typically included with your camera purchase but you may want another. Make sure they can support the weight of your camera. I think this is another cool and distinct way to add some personality and flare to your camera setup. Just make sure there are adjustable straps with good support. Your neck will thank you after a long day of shooting!
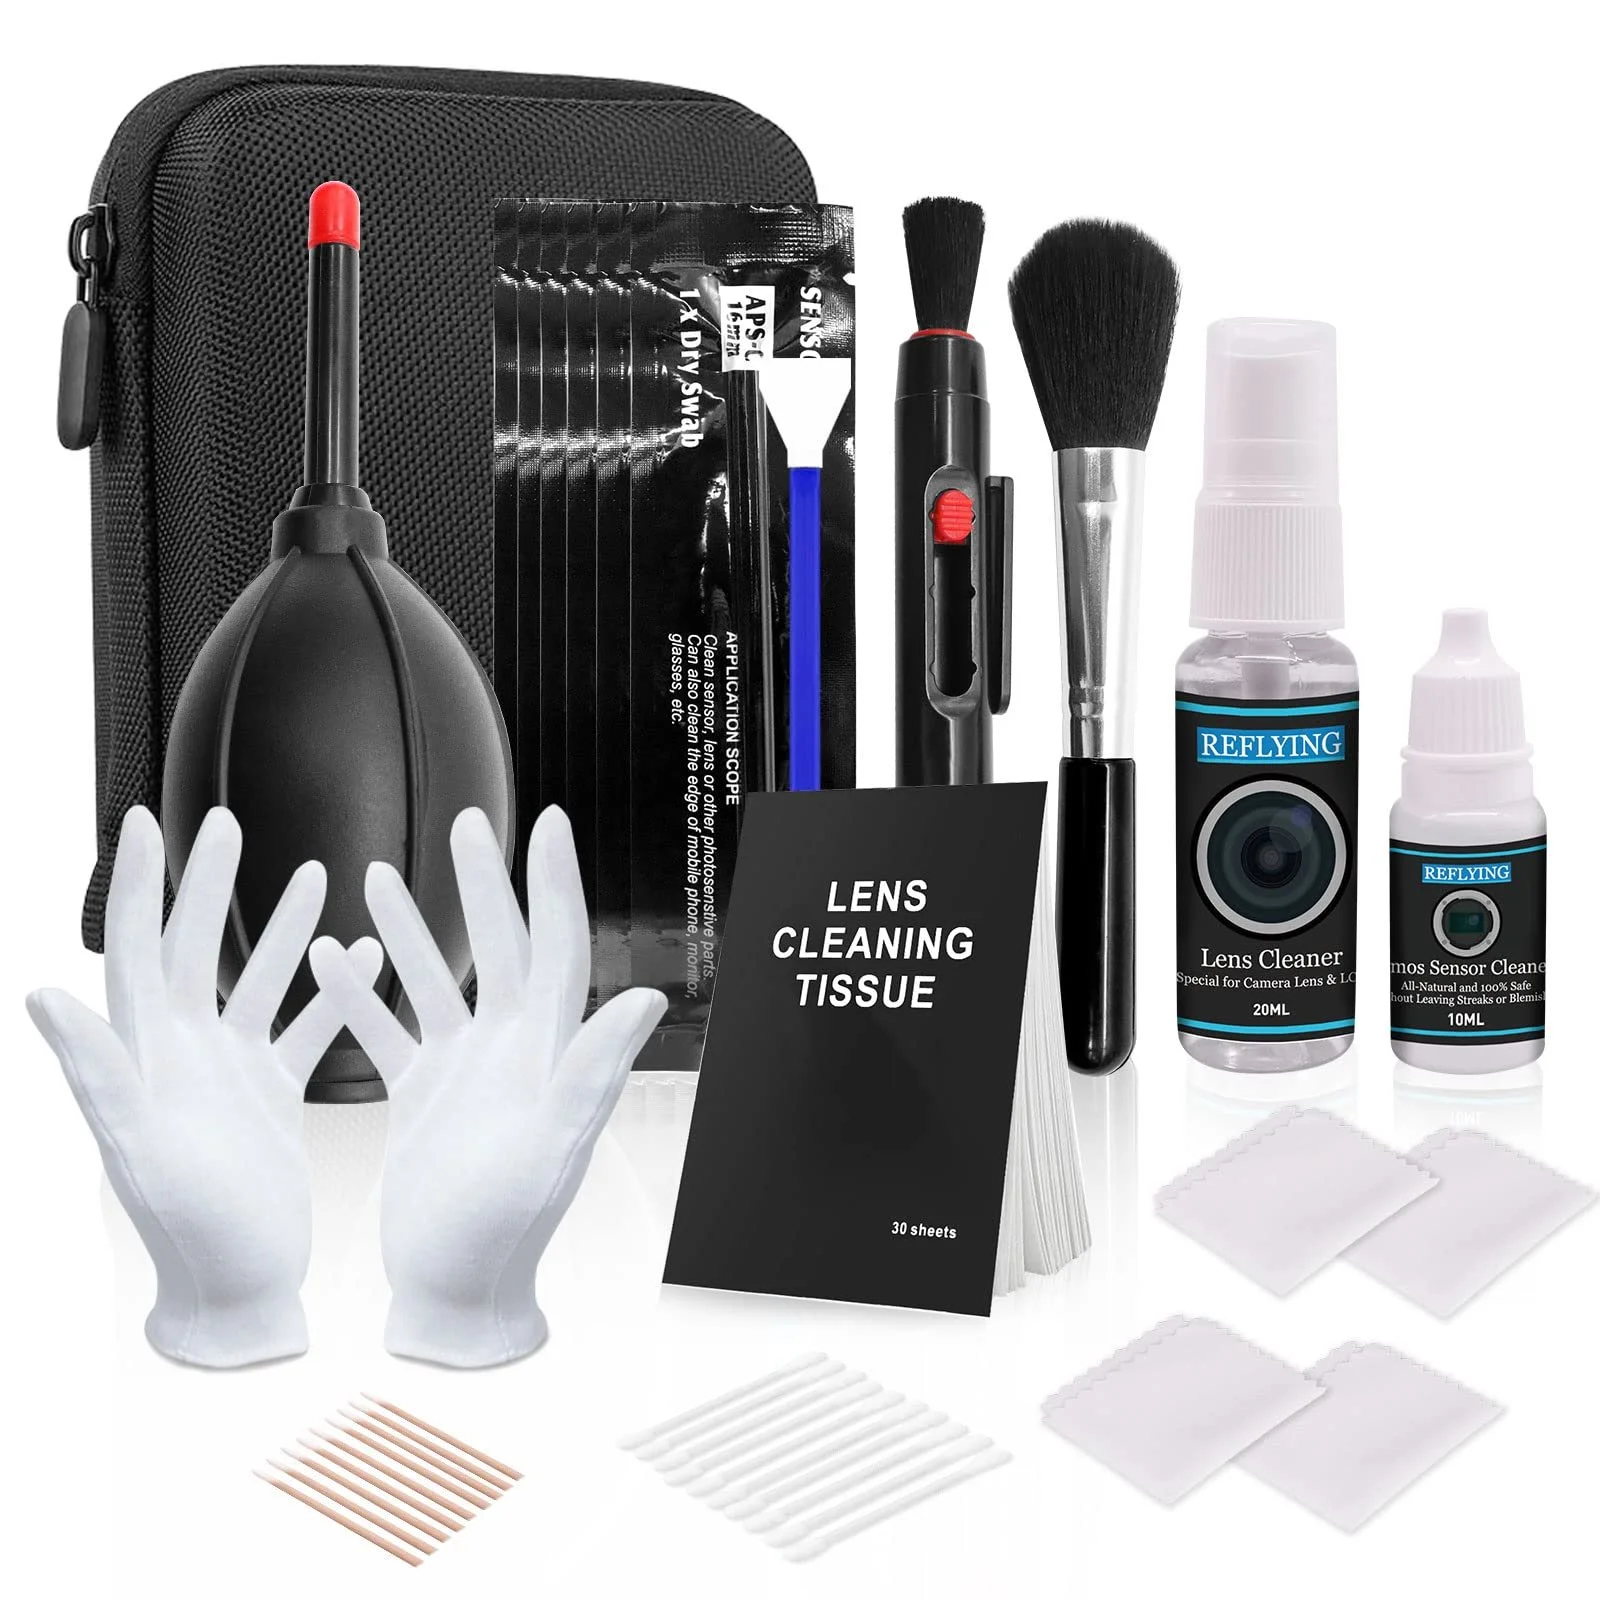
Sensor Cleaning Kit
Helps with cleaning your equipment while shooting to avoid fingerprint smudges and dust particles. This typically includes:
cleaning swabs
microfiber cloth
cotton swabs
beauty brush
cleaning rod
anti-static gloves
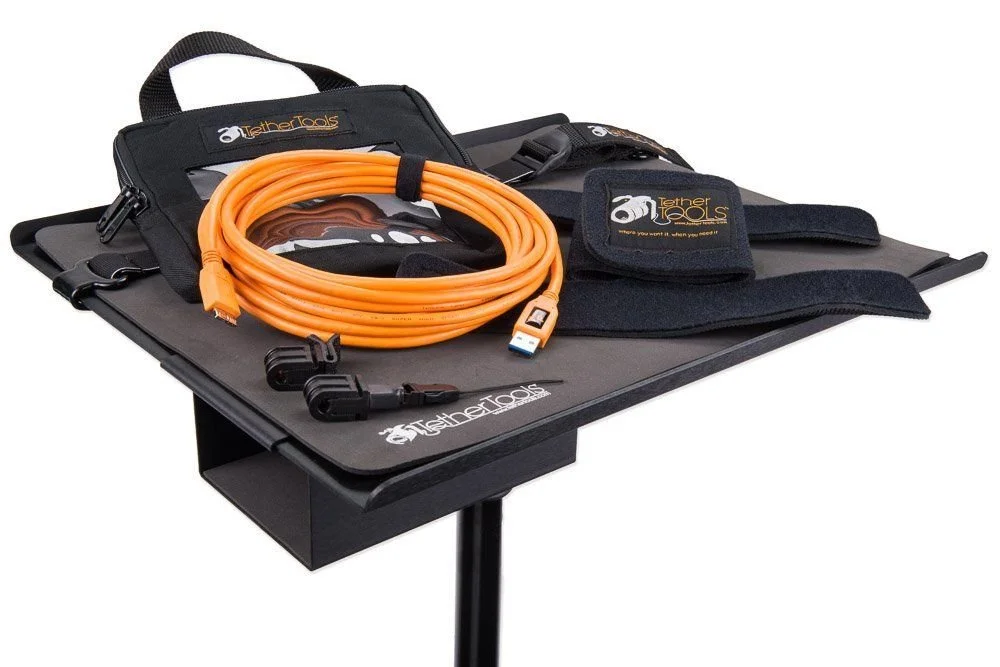
Tethering Cable
Tethering cables are ideal and almost vital for studio sessions, primarily food, product, or still-life photography. This also acts as an additional way to transfer and upload images to your computer. Once your cable is connected, you’re then able to control your camera from the computer and view your images full-screen almost instantaneously. This becomes such a time saver compared to having to stop and go to your gallery on your camera after each shot. Since I have a Canon, EOS Utility is included as free software.
Editing Software
Post-processing programs to edit images are crucial to saving money on projects and advancing your skillsets with digital solutions. My preferred editing software for graphic design, retouching, and color correction are:
Adobe Lightroom
Adobe Photoshop
Adobe Premiere Pro
Adobe Premiere Rush
Canva
Cricut Design Space
For uploading quick edits on mobile I use:
Adobe Express
Adobe Lightroom
Adobe Premiere Rush
Canva
CapCut
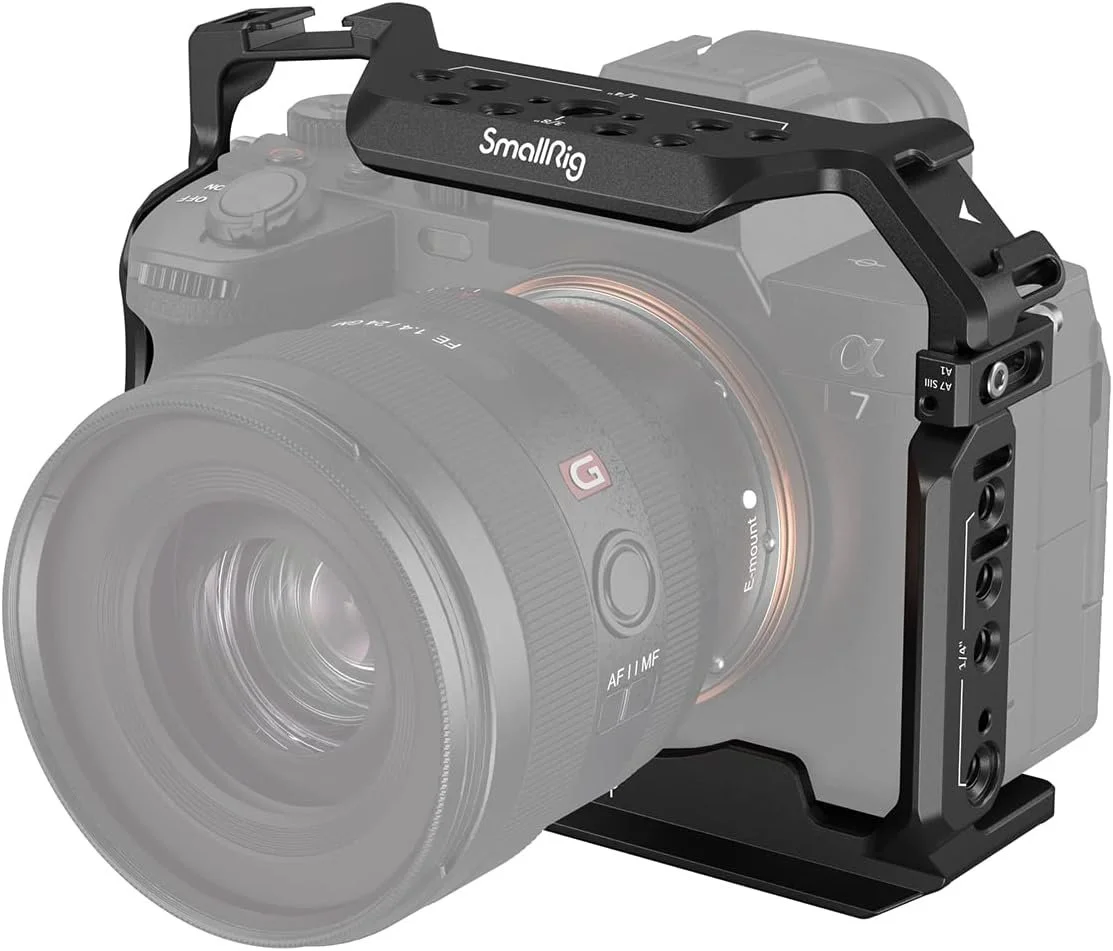
Camera Cage
Here is the next and final layer of protection that any photographer has come to appreciate: a camera cage. Aside from a lens hood, the cage protects from more fully body impact while also offering extra mounting points and ergonomic use.
Conclusion
I hope that I’ve been able to give you all a beginner-friendly list of camera accessories for photographers.
Is there anything that you find useful on this list? Have something to add? Let me know if the comments!